Making Handles for Mugs and Jugs on the Wheel
There is something deeply satisfying about throwing a mug on the wheel, only to realise that you now have to make the handle. For many beginners, this is the moment the excitement wobbles slightly. The cylinder came together beautifully, the walls are even, the base is solid – and then you remember that the handle is a whole separate skill with its own quirks, its own failures, and its own rewards. The good news is that pulling a handle is one of those things that feels impossible right up until it suddenly clicks, and once it does, you will wonder what all the fuss was about.
This guide is aimed at beginners who are already getting comfortable on the wheel and want to start making functional pieces – mugs, jugs, pitchers, and anything else that needs a handle to be truly useful. We will cover the two main methods for making handles (pulling directly from the piece and pulling off the piece), how to attach handles properly so they do not crack or fall off, and the specific considerations for jugs versus mugs. Along the way, you will find practical tips drawn from real studio experience, not just theory.
Why Handles Are Trickier Than They Look
Most beginners assume that once the throwing is sorted, handles will be the easy part. In reality, handles introduce a set of challenges that are entirely different from wheel throwing. The clay needs to be the right consistency – firm enough to hold its shape but soft enough to pull without cracking. The attachment points need to be scored and slipped properly, or the handle will simply fall off during drying or in the kiln. And the curve of the handle has to complement the form of the vessel, both aesthetically and ergonomically.
There is also the issue of drying. Clay shrinks as it dries, and the handle and the body of the mug or jug will shrink at different rates if you are not careful. This is one of the most common reasons handles crack at the join – not poor attachment technique, but uneven drying. Understanding this from the start will save you a lot of heartache later on.
Two Main Methods: Pulling Direct vs Pulling Off
There are two schools of thought when it comes to making handles for wheel-thrown pieces. Both produce excellent results when done well, and most potters develop a preference over time. Try both before you decide which suits you.
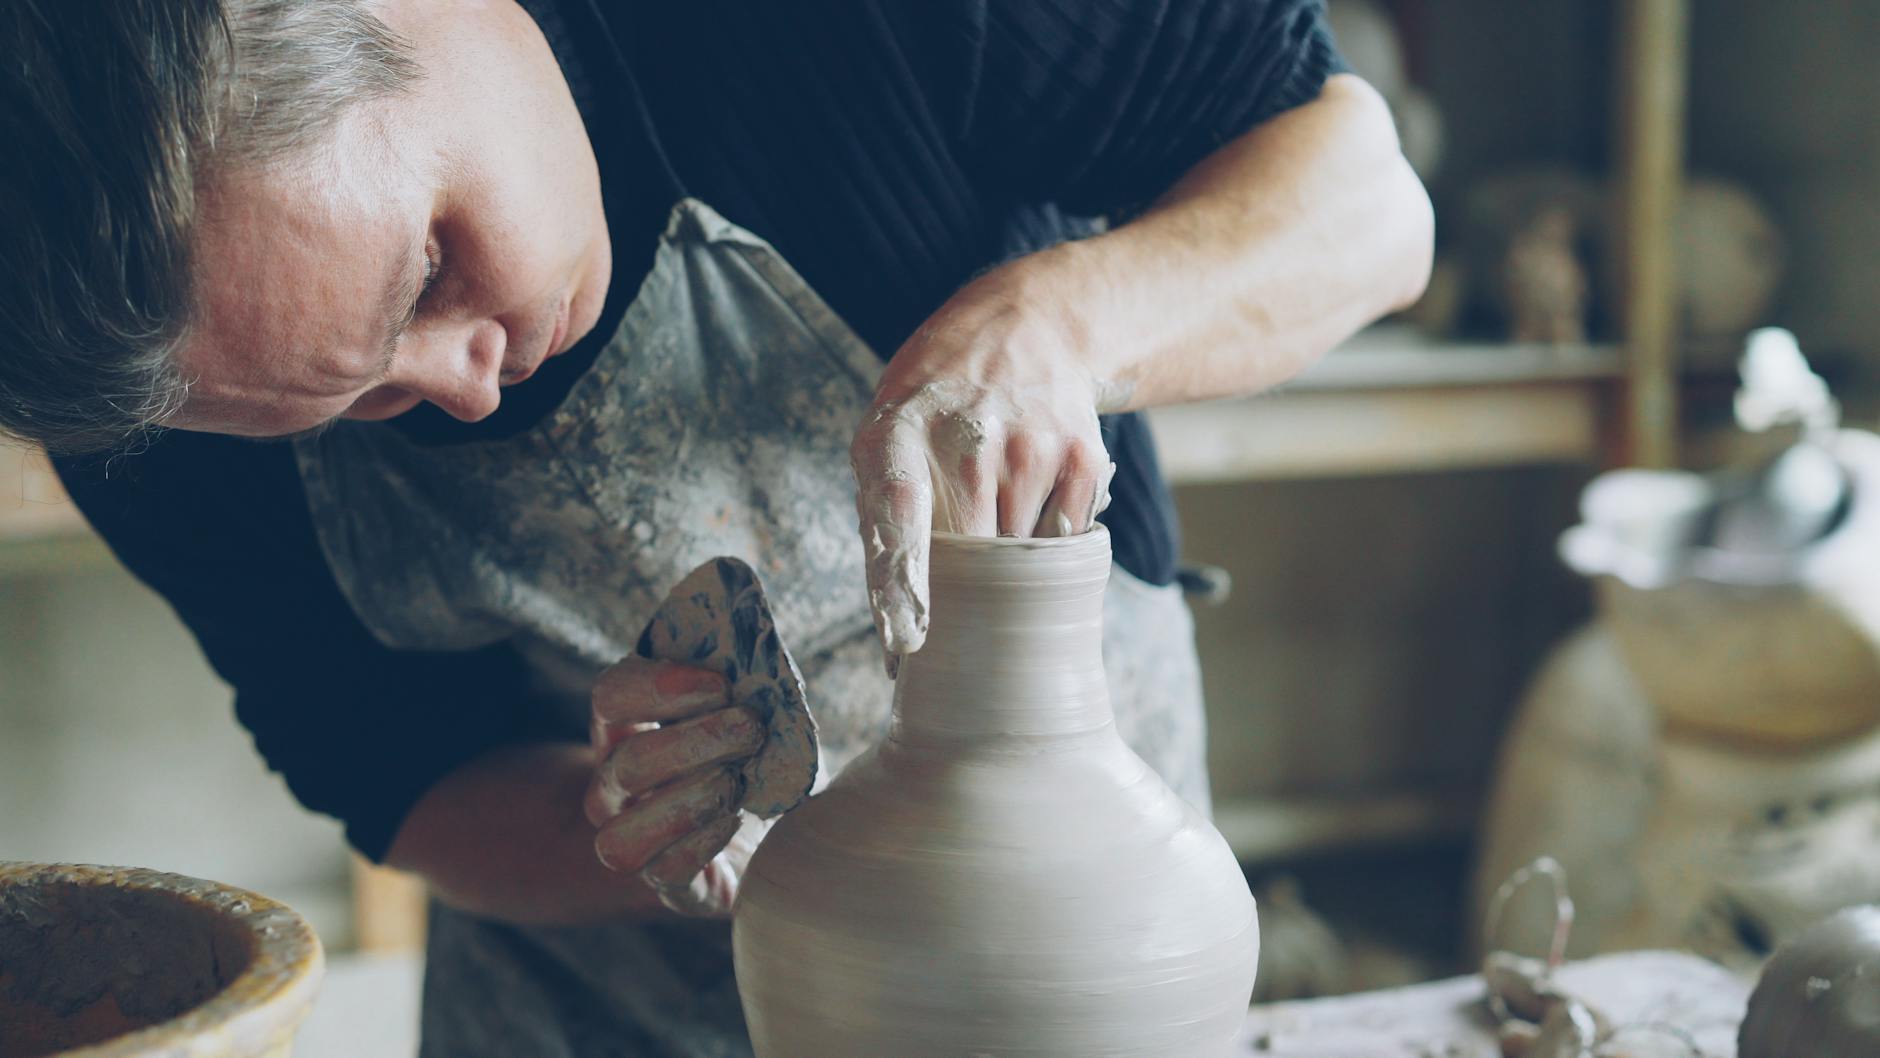
Pulling directly from the piece is the traditional approach. You attach a lump of clay to the top of the mug or jug and pull it downward in stages, coaxing it into a strap of even thickness before curving it round and attaching the bottom end. It looks elegant when done properly and produces a very organic, fluid handle. The downside is that it requires the vessel to be leather-hard but not too dry, and it takes a bit of practice to get the pulling motion right without distorting the rim of the piece you have already made.
Pulling off the piece – sometimes called pulling handles separately – involves pulling the handle from a lump of clay held in your hand, then setting the pulled handles aside to stiffen slightly before attaching them. This method gives you more control, lets you make several handles at once, and means you can choose the best ones. It is often the method taught first in UK pottery classes, and studios like those run by The Kiln Rooms in London or Turning Earth often introduce it this way for good reason.
How to Pull a Handle Off the Piece
Before you do anything else, make sure your thrown vessel is at leather-hard stage – firm to the touch, slightly cool, holding its shape without any wobble. If it is still soft, the handle attachment will distort the piece.
- Prepare your clay. Take a piece of well-wedged clay roughly the size of a large lemon. It should be the same clay body as your vessel – mixing clay bodies is asking for trouble at the firing stage. Shape it into a smooth cone or carrot shape.
- Wet your dominant hand. Keep a bowl of water close by. You want your hand damp, not dripping. Too much water weakens the clay and makes it floppy.
- Hold the clay in your non-dominant hand, pointing downward like a thick finger. Curl your dominant hand loosely around the base of the clay cone.
- Pull downward in smooth strokes. Use your thumb and the side of your index finger to gently squeeze and pull the clay downward. Rotate slightly with each pull. You are aiming to draw the clay out into an even strap, roughly 8-12mm thick and about 2-3cm wide, depending on the size of your piece. Do not rush this – three or four steady pulls will do it.
- Curve and set aside. Once you have a pulled handle you are happy with, drape it over a rounded former (a rolling pin works well) or prop it in a gentle curve. Leave it for 15-30 minutes until it is just beginning to stiffen. You want it firm enough to hold its shape but still pliable enough to bend without cracking.
- Score and slip both attachment points. Use a serrated kidney or a fork to scratch the two spots on your vessel where the handle will join – top and bottom. Apply a small amount of slip to both. Score the ends of your handle too.
- Attach from the top down. Press the top end of the handle firmly onto the upper attachment point. Then swing the handle out to create a comfortable curve and press the lower end into place. The curve should be generous enough that someone’s fingers can fit inside easily.
- Blend the joins. Use your finger or a small tool to blend the clay at each join smoothly into the vessel wall. This is structural, not just cosmetic – a well-blended join is a strong join.
- Slow-dry the finished piece. Cover loosely with polythene and leave in a cool spot. Slow drying reduces the risk of cracking at the handle joints.
Pulling Directly from the Piece
If you want to try pulling directly from the vessel, the process starts the same way – prepare a cone of clay and score the attachment point on the rim of your mug. Press the clay cone firmly onto the top of the rim, blending it in well. Then, holding the mug steady (some potters prop it at an angle in their lap), wet your pulling hand and draw the clay downward in smooth, rhythmic strokes, just as you would when pulling off the piece.
The challenge here is keeping the mug still and maintaining an even thickness throughout the pull. Many people find it helpful to brace their elbow against their body. When the handle is the right length and thickness, swing the bottom end round to meet the vessel wall, score and slip, and press it firmly into place. Blend the joins carefully.
One particular advantage of this method is that the handle is already bonded at the top before you start pulling, which can make for a very strong and natural-looking attachment. James and Tilla Waters at their Eastnor Pottery in Herefordshire are well known for teaching this technique, and their approach emphasises the rhythm of the pull – smooth, consistent, unhurried.
Handles for Mugs vs Handles for Jugs
The principles are the same, but the specifics differ enough to be worth discussing separately.
For mugs, the handle needs to be comfortable to hold when the mug is full of hot liquid. This means it should be wide enough for at least two or three fingers, and the curve should sit away from the body of the mug so fingers do not press against hot clay. A standard mug handle is typically pulled to about 10-12cm in length before attachment, though this varies with the height of your mug. Ergonomics matter here – think about how the finished mug will actually be held.
For jugs, the handle serves a different purpose. It needs to be strong enough to support the weight of a full jug while pouring, which means a thicker cross-section and a very secure attachment at both ends. Jug handles are often wider and more substantial than mug handles. You might also consider attaching the handle slightly lower on the body of the jug than you think feels natural – when the jug is full and you are tipping it to pour, the lower attachment gives you more control.
Jugs also have a spout to think about, and the handle should sit directly opposite the spout so the pour is balanced. Many beginners forget to check this and end up with a jug that is awkward to use. Before the clay stiffens, hold the jug up and sight across it – handle on one side, spout on the other, directly aligned.
Common Problems and How to Fix Them
Handle-making comes with its own set of frustrations. Here are the ones that come up most often for beginners, and what to do about them.
The handle cracks at the join. Almost always caused by uneven drying. The handle dries faster than the body of the vessel, shrinks more quickly, and pulls away. Cover the whole piece loosely in polythene and dry it slowly. If you are in a hurry, at least cover the join points with a small piece of damp cloth before covering with polythene.
The handle is uneven or twisted. This usually means your pulling strokes are inconsistent. Try to keep the motion smooth and steady, and rotate the clay only slightly between pulls rather than spinning it. Pulling in front of a mirror can help you spot where your technique is going off.
The handle falls off in the kiln. This is a scoring and slipping problem. The attachment was not mechanical enough. Score deeply and generously, apply slip that is the same clay body as your piece, and press the handle on with firm, even pressure. Blend the joins with real intention.
The handle looks out of proportion. This is a matter of eye and practice, but a useful rule of thumb is that the handle should be roughly two-thirds the height of the vessel. Anything shorter tends to look pinched; anything longer starts to look unwieldy.
Tools and Materials Worth Investing In
You do not need a lot of specialist equipment for handles, but a few things will make your life considerably easier.
A good serrated kidney or a dedicated scoring tool is essential – a fork works in a pinch, but a proper scoring tool gives you more control over the depth and pattern of the score. A small, soft brush for applying slip is worth having. Some potters swear by a handle-pulling guide, which is a
small wooden or plastic template that helps you achieve a consistent arc when attaching the handle to the vessel. Whether you use one or not is largely a matter of personal preference, though they are particularly useful if you are making a matching set and want uniformity across the pieces.
A bowl of water kept close to hand is obvious enough, but less obvious is the benefit of having a damp cloth nearby rather than relying solely on the water bowl. The cloth lets you keep your hands consistently moist without over-wetting the clay, which is a common cause of handles that slump or distort before they have a chance to stiffen. A wooden modelling tool with a rounded tip is also useful for smoothing the join at the top and bottom of the handle after attachment, giving you a clean transition between handle and body without leaving fingerprints in the surface.
If you intend to pull handles in any volume, a wooden bat or a piece of canvas fixed to the bench will give you somewhere to rest pulled handles while they firm up to the right consistency. Leather-hard handles attach far more reliably than soft ones, and having a dedicated resting surface means you can pull a batch in one session and attach them later, which suits many potters’ working rhythms better than trying to do everything at once.
In Summary
Handle-making rewards patience and repetition more than almost any other aspect of throwing. The proportions, the pulling technique, the timing of attachment, and the quality of your scoring and slip all contribute to whether a handle survives the kiln and feels right in the hand. Keep your pulls consistent, let the clay tell you when it is ready to be attached, and do not be discouraged if early attempts crack or drop off — that is a normal part of learning the process, and each failure usually makes the reason for it quite clear.