How to Throw a Cylinder: The Foundation of Wheel Work
Every jug, mug, vase, and bottle you have ever admired on a potter’s shelf began its life as a cylinder. It is the single most important form in wheel throwing, and the quality of everything you make on the wheel will ultimately trace back to how well you can throw one. Before you worry about handles, spouts, or decorative flourishes, you need to make friends with the cylinder. Get it right, and the rest of wheel throwing opens up in front of you. Get it wrong, and you will keep fighting the same problems in every form you attempt.
This guide is written for complete beginners — people who have perhaps attended a taster session at a local studio, bought their first bag of clay, or are just starting out at a class. We will go through everything: preparing your clay, centring, opening, pulling up the walls, and finishing. Along the way, there is practical advice about common mistakes, what tools you actually need, and where to find good materials here in the UK.
Why the Cylinder Matters So Much
It might seem odd to spend weeks, even months, throwing the same shape repeatedly. Surely it gets boring? In practice, the cylinder is endlessly instructive. Every time you throw one, you are training your hands to apply even pressure, your eyes to read the wall thickness, and your body to stay relaxed and steady while the wheel spins. Professional potters who have been working for decades still throw test cylinders when they switch to a new clay body or return from a break. Think of it less as a finished piece and more as a daily exercise — the equivalent of a musician playing scales.
A well-thrown cylinder has walls of even thickness from base to rim, stands perfectly upright without any lean or twist, and has a flat, well-compressed base that will not crack during drying or firing. Achieving all three things at once takes practice, but understanding what you are aiming for is half the battle.
What You Will Need
Before you sit down at the wheel, gather your materials. You do not need much, but having everything within reach makes a significant difference to your focus during throwing.
- Clay: For beginners, a smooth stoneware or an earthenware body is ideal. Heavily grogged clays (those with coarse particles added for strength) can tear your hands while you are still learning. Good beginner-friendly options are available from UK suppliers such as Potclays in Stoke-on-Trent, Valentine Clays, or Scarva Pottery Supplies in Northern Ireland. A 1kg ball is a sensible starting weight for your first cylinders.
- A pottery wheel: Most beginners will be using a studio wheel. If you are setting up at home, popular models in the UK include the Brent C and the Shimpo Whisper. Electric kick wheels are common in shared studio spaces across the country.
- A bucket of water: Keep it close. You will use it constantly to lubricate your hands and the clay.
- A sponge: A small, natural sponge is best for adding water precisely and for removing excess water from inside the cylinder base.
- A wooden or metal rib: A flexible metal rib is particularly useful for smoothing and compressing the outer wall.
- A wire tool: For cutting your finished piece off the bat or wheelhead.
- A wooden bat (optional but recommended): Throwing on a bat means you can lift the finished cylinder away without distorting it. Most studios have bats available.
- A needle tool: For checking wall thickness and trimming the rim level.
- A chamois leather or soft rubber: For smoothing and compressing the rim at the end.
Preparing Your Clay: Wedging
Never skip wedging. It is tempting, especially when you are eager to get on the wheel, but unwedged clay contains air pockets and uneven moisture distribution — both of which will cause problems later. An air bubble in the wall of a cylinder can cause it to collapse mid-throw. In a fired piece, trapped air can cause an explosive crack in the kiln.
The most common wedging method for beginners is rams-head wedging, also called spiral wedging. Press the clay firmly forward and down with the heel of your hand, rotate it slightly, and repeat. You are looking to develop a rhythmic, rolling motion that pushes air out rather than folding it back in. Aim for around 50 to 100 rotations. The surface of your wedged clay should be smooth and slightly warm from the friction of your hands.
Form your wedged clay into a rough ball and give it a firm pat to make sure it is compact. You are now ready to centre it on the wheel.
Centring: The Step That Takes the Longest to Learn
Centring is the process of making the clay run true on the spinning wheelhead — meaning it does not wobble or pulse as it turns. Until the clay is centred, you cannot open it cleanly or pull consistent walls. Most beginners find centring the most frustrating part of learning to throw, and it is worth being honest about that upfront. It takes time. But there are things you can do to make it easier.
Sit close to the wheel with your elbows braced against your thighs or the rim of the wheel tray. This is important. Your arms become levers when they are anchored against your body, and you can apply far more controlled, sustained pressure without tiring as quickly. Many beginners try to muscle clay into centre using only arm strength, which is exhausting and ineffective. Use your whole body weight instead.
Set the wheel spinning at a reasonably fast speed — about three-quarters of its maximum. Wet your hands thoroughly, then place your dominant hand on the far side of the ball of clay and your other hand on top. Apply firm, steady pressure, pushing the clay slightly inward and downward at the same time. You will feel the clay resist, then start to yield. Keep the pressure even and constant, rather than jabbing or pushing in pulses.
To test whether the clay is centred, place one finger lightly against the side of the spinning mound. If it feels smooth and still, you are there. If it bumps against your finger rhythmically, the clay is still off-centre. Keep working until the mound feels perfectly steady.
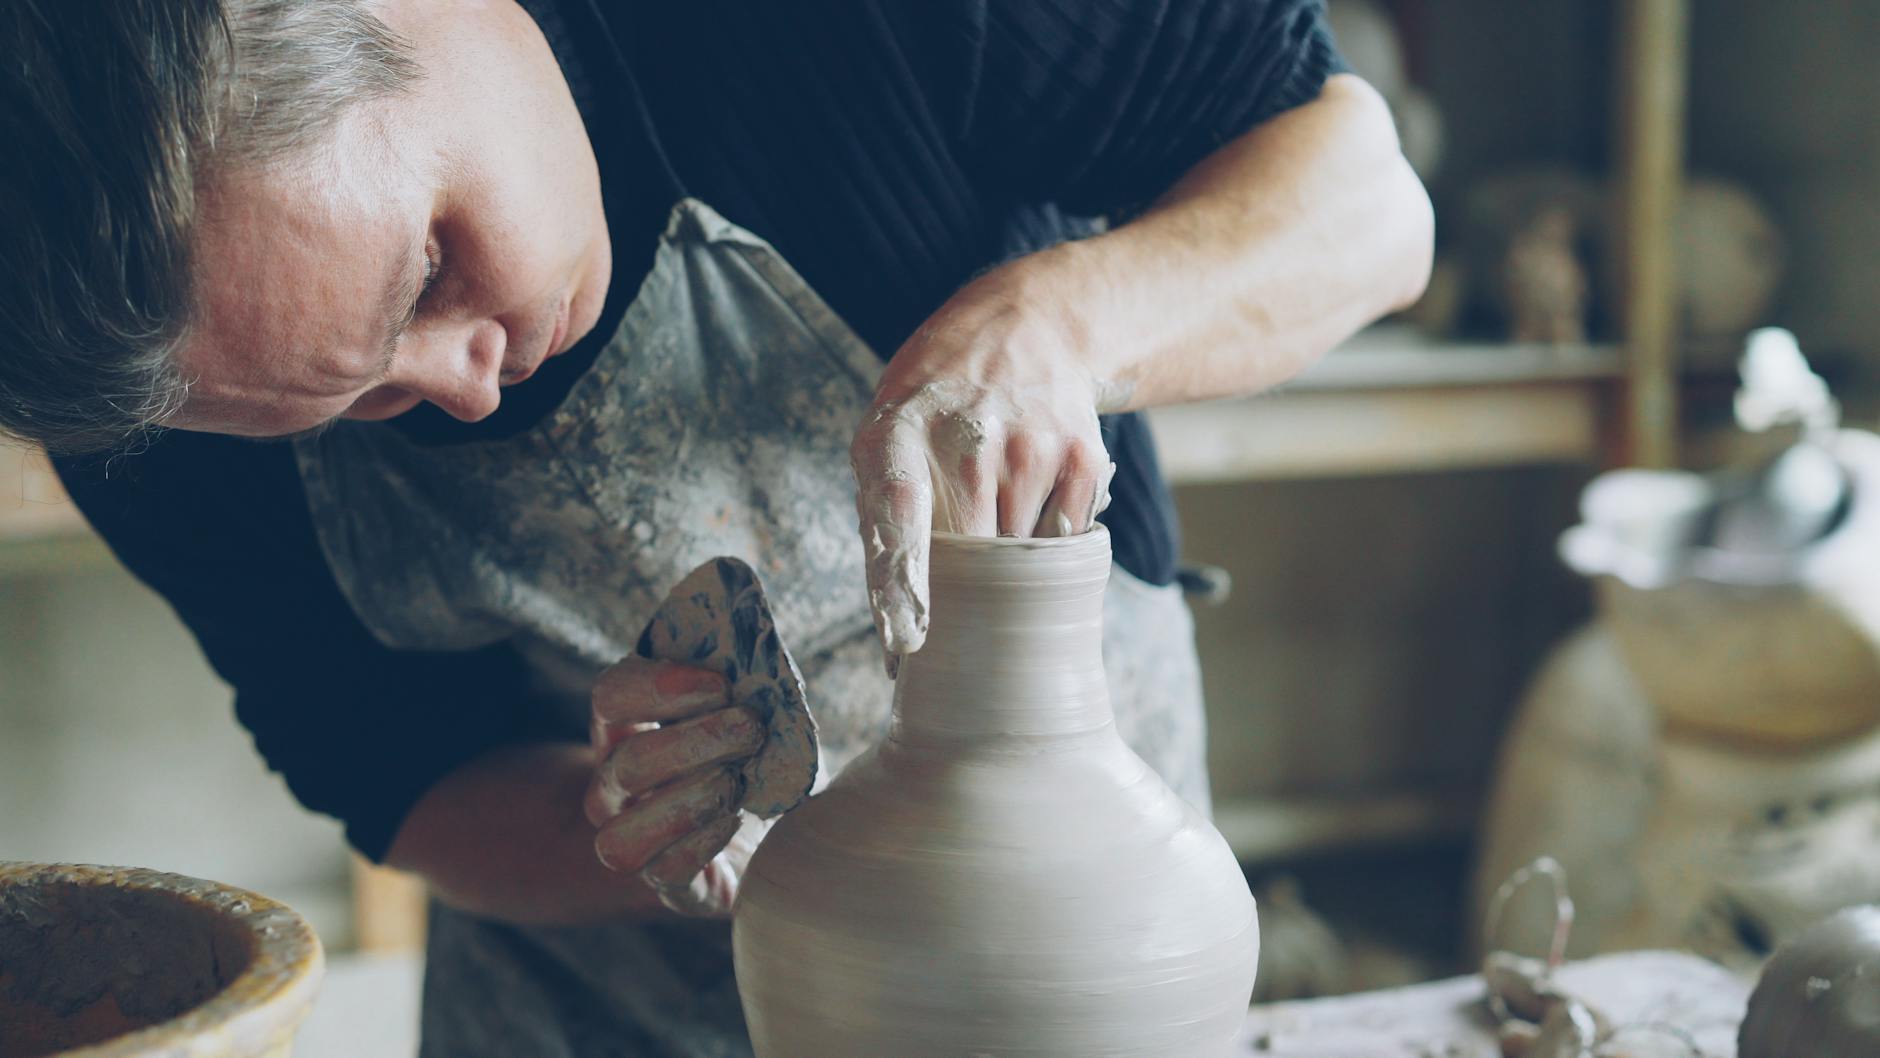
Opening Up
Once your clay is centred, you need to create the interior of the cylinder. This is called opening. Place the thumbs of both hands on top of the spinning clay, close together at the centre. Gently push down into the clay, keeping your thumbs side by side and your fingers wrapped around the outside of the mound to support it. Push down to within about one centimetre of the wheelhead — this will become the base of your cylinder.
Then, keeping your fingers on the outside for support, draw your thumbs outward toward you to widen the floor of the cylinder. This should be a slow, deliberate movement, taking place over a full rotation or two of the wheel. The goal is an even, flat base and a consistent wall thickness all the way around.
Use your needle tool at this stage to check the base thickness. Push it straight down through the base until you feel it touch the wheelhead, then pinch it at the point where it enters the clay. Pull it out and measure. Aim for around 8 to 10 millimetres for a small cylinder — enough to be stable without being wastefully thick.
Pulling Up the Walls
This is the part most people picture when they think of throwing on the wheel — the satisfying, almost meditative process of drawing the clay upward into a tall, even wall. It requires patience and a light touch. The most common mistake beginners make is applying too much pressure too quickly, which causes the wall to thin unevenly or collapse outward.
Here is a step-by-step sequence for each pull:
- Position your hands: Place your fingers inside the cylinder at the base, with your knuckle or fingertips on the outside wall directly opposite. Your inside and outside hands should be working in opposition to each other.
- Apply gentle inward pressure with your outside hand: This compresses the clay and supports the wall as it rises.
- Begin to move both hands slowly upward: Inside fingers lift and guide; outside hand supports and slightly compresses. Move upward at a pace that allows the wheel to rotate fully once or twice as your hands travel the full height of the wall.
- Release pressure gently at the top: Do not simply drop your hands away. Ease off the pressure gradually as you reach the rim, then release.
- Wet your hands again before each pull: Friction without water will drag and tear the clay surface.
- Repeat the process: Each pull thins the wall slightly and raises the cylinder higher. Most beginners need four to six pulls to achieve a good cylinder from a 1kg ball of clay.
Keep the wheel speed moderate during pulling — a little slower than during centring. Speed gives you control when centring, but slower rotation during pulling gives you more time to feel what the clay is doing and adjust your pressure accordingly.
Keeping It Vertical
A cylinder must be vertical. Even a slight lean will become more pronounced as the walls get taller, and a leaning cylinder is almost impossible to use as the basis for a functional form. After each pull, stop the wheel and look at your cylinder from the side. Does it stand straight? Use your eye level with the wheelhead, not from above — viewing from above is deceptive.
If the cylinder is leaning, gently brace your outside hand against the leaning side while the wheel spins slowly, applying very light pressure to coax it upright. Do not force it, and do not try to correct a severe lean on a very thin-walled cylinder — at that stage, the risk of collapse is high.
Compressing and Finishing the Rim
The rim is the most
vulnerable part of the cylinder. Thin, unsupported, and constantly in motion, it is where collapse most often begins. To compress the rim, bring the wheel to a moderate speed and pinch the top edge gently between your dampened thumb and index finger, moving slowly around the circumference. This is not about shaping — it is about consolidating the clay, aligning the particles, and removing any unevenness that has crept in during pulling. A well-compressed rim feels firm and even; a neglected one will wobble, crack during drying, or fold under its own weight.
Once the rim is compressed, you can refine its profile. Some potters prefer a flat, squared-off rim, achieved by pressing down lightly with a fingertip while supporting the outside wall. Others favour a slightly rounded edge, which is more forgiving in use and less prone to chipping. Either way, keep the finishing passes light and deliberate. The clay at this stage has been worked considerably and will not tolerate heavy-handed correction. If the rim has developed a slight ripple — known as coning — slow the wheel right down and steady it with a single fingertip held gently against the inside, allowing the rotation to do the correcting rather than your hand.
Before cutting the cylinder off the bat or wheelhead, clean up the base with a wooden tool or a loop, removing any excess clay that has gathered at the foot. This is also the moment to assess the wall thickness at the base, which is typically the thickest point. If it feels substantially heavier than the walls above, a final careful pull can address it — though on a finished cylinder, restraint is usually wiser than ambition.
Conclusion
The cylinder is not a finished pot in itself, but it is the discipline from which almost every other form on the wheel grows. Bowls, vases, jugs, and lidded jars all begin with the same sequence: centre, open, compress, pull. Practise the cylinder until the movements become instinctive — until your hands know the clay’s resistance before your mind has formed the thought. There are no shortcuts to this kind of fluency, only hours at the wheel, a willingness to collapse gracefully, and the good sense to wedge your clay thoroughly before you begin.