Setting Up a Home Pottery Studio: What You Need
Pottery is one of those crafts that rewards patience, practice, and a decent amount of planning before you even touch a lump of clay. Whether you have been inspired by a taster workshop at a local studio, or you have simply decided it is time to bring the making home, setting up your own pottery space is entirely achievable – even in a modest British house or flat. This guide walks you through everything you need to get started, from the essential equipment to the practical realities of working with clay in a domestic setting.
There is no single right way to set up a home pottery studio. Some people work from a spare bedroom with minimal kit; others convert a garage or garden shed into a fully equipped space. What matters is that you understand the requirements before you spend money, and that you build your setup around what you actually want to make.
Understanding What Kind of Potter You Want to Be
Before buying anything, it helps to be honest with yourself about which techniques you want to explore. Pottery broadly splits into three main disciplines: hand-building, wheel throwing, and slip casting. Each one has different equipment requirements, different space demands, and a different learning curve.
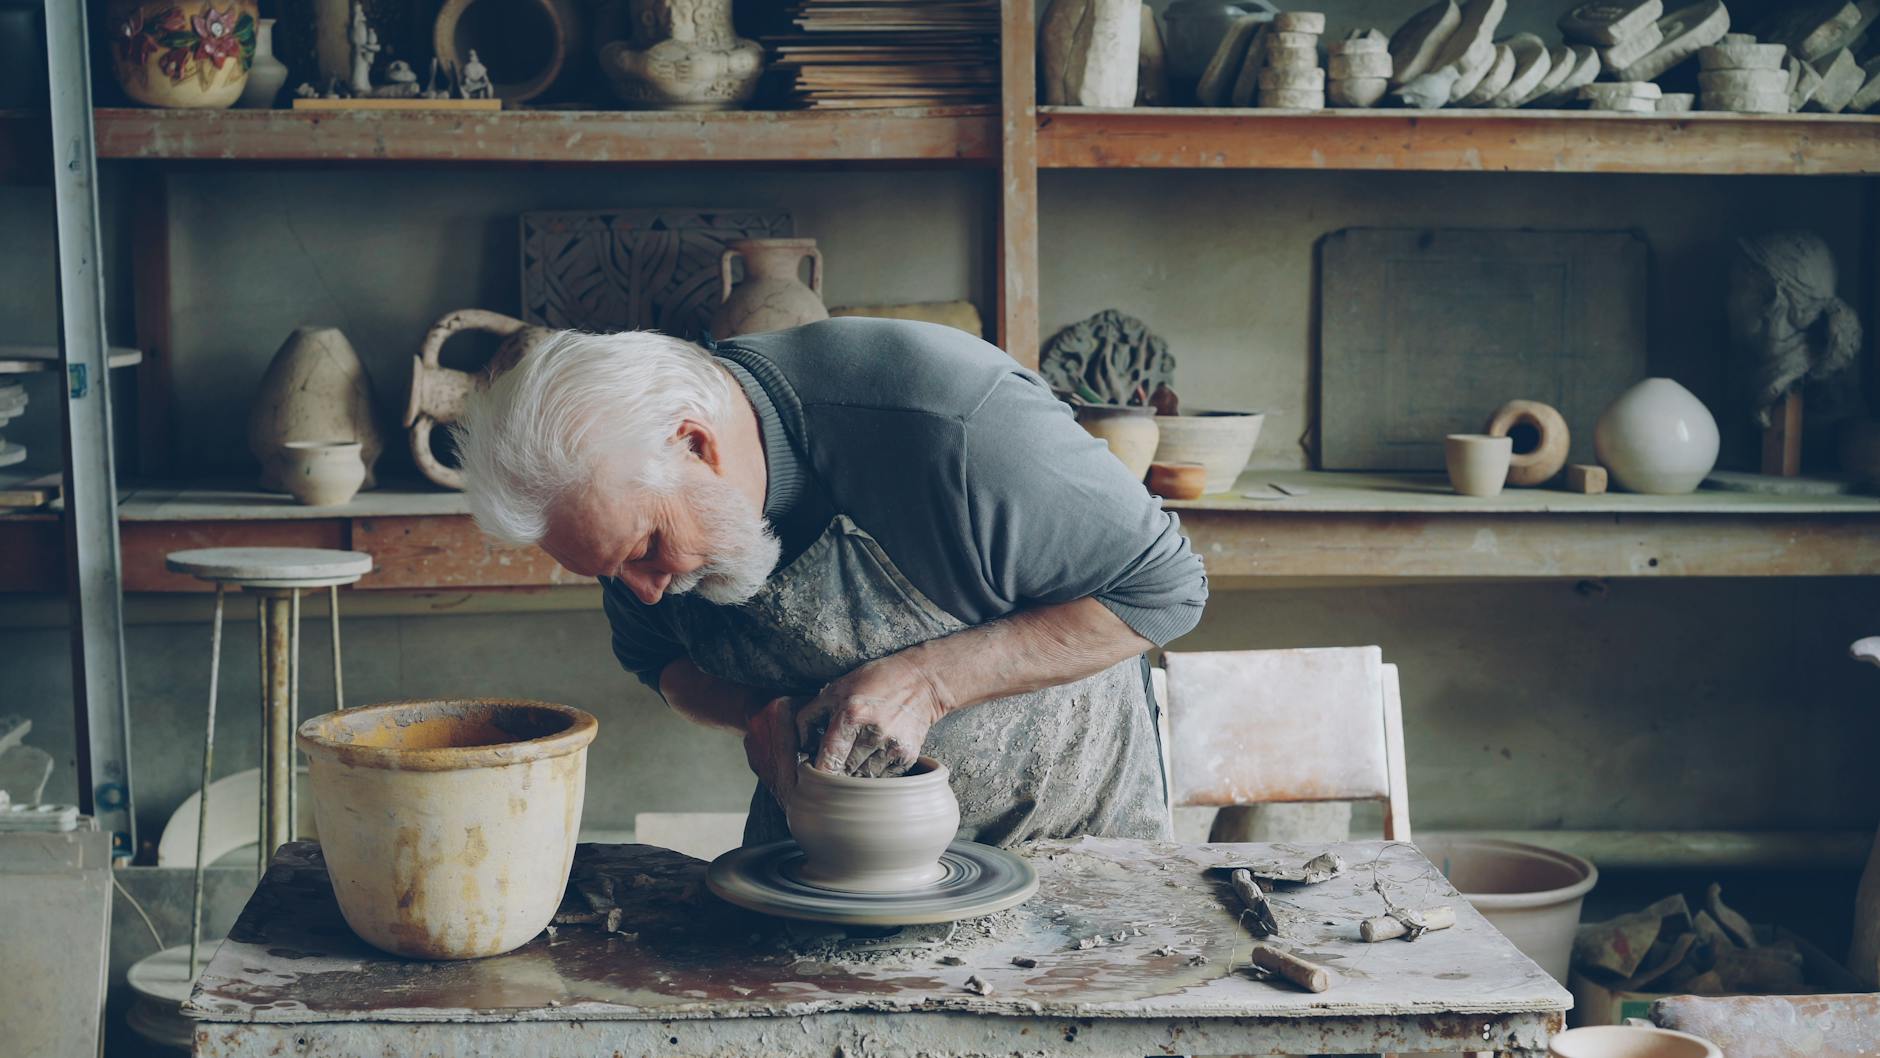
Hand-building is the most accessible starting point. It involves techniques such as pinching, coiling, and slab construction – all of which require very little specialist equipment. A sturdy table, some basic tools, and a bag of clay are enough to begin.
Wheel throwing is what most people picture when they think of pottery. It requires a potter’s wheel – a significant investment – and considerably more practice before results feel satisfying. It is deeply enjoyable, but beginners should be realistic about the learning time involved.
Slip casting involves pouring liquid clay into plaster moulds. It is commonly used in industrial and studio production settings, and while it can be done at home, it is generally not the best starting point for complete beginners.
For most people setting up at home for the first time, starting with hand-building and adding a wheel later is the most sensible and cost-effective approach.
Choosing the Right Space
Clay is messy. Not dangerously so, but persistently so. Clay dust, wet clay slip, and the general disorder of working with a natural material will spread across any space you use. For this reason, choosing where to set up your studio is one of the most important decisions you will make.
The ideal space has several characteristics:
- A hard, wipeable floor – concrete, tile, or vinyl are all suitable. Carpet is not.
- Access to a sink with a clay trap or a bucket system to catch clay sediment before it reaches the drains. Clay should never be washed directly down household plumbing, as it will accumulate and cause blockages over time.
- Good ventilation, particularly if you plan to use any glazes or undergo firing, as some materials release fumes.
- Enough space to move around a worktable comfortably – a minimum of around 2 metres by 2 metres is a useful starting benchmark.
- Somewhere dry and temperature-stable to store clay, which should not be allowed to freeze.
Garages and garden outbuildings are popular choices in the UK precisely because they tick most of these boxes. They tend to have concrete floors, are separate from living spaces, and can often accommodate a kiln without the planning concerns that might arise indoors. A spare room can work well for hand-building, but kiln placement becomes trickier and ventilation needs careful thought.
If you live in a flat, home pottery is still possible, but it requires more careful management. Some potters hand-build at home and use a shared kiln at a local pottery studio or community arts centre for firing. This is a practical and affordable arrangement that avoids the need to purchase or house your own kiln.
Essential Equipment for Beginners
The good news is that you do not need to spend a great deal to get started with hand-building. Below is a breakdown of the core equipment, roughly ordered by importance.
Clay
Your first purchase should be your clay. In the UK, several excellent suppliers sell clay in 12.5kg or 25kg bags, which is the most practical quantity for home use. Reputable suppliers include Scarva Pottery Supplies (based in Northern Ireland but shipping UK-wide), Bath Potters’ Supplies, Valentines Clays in Stoke-on-Trent, and CTM Potters Supplies in the West Midlands.
For beginners, a smooth stoneware or a grogged earthenware is generally recommended. Grogged clays contain small particles of fired clay (called grog) that give the body extra strength and help it withstand the stresses of drying and firing. Porcelain is beautiful but unforgiving, and is better attempted once you have some experience with more forgiving clays.
Basic Hand-Building Tools
- Wire clay cutter – for cutting blocks of clay from the bag and slicing slabs.
- Rolling pin and guide sticks – for rolling even slabs. Wooden guide sticks in 6mm and 10mm thicknesses are inexpensive and very useful.
- Wooden modelling tools – a basic set of wooden ribs and loop tools covers most shaping and refining tasks.
- Metal kidney – a flexible metal scraper used for smoothing surfaces.
- Sponges – for smoothing, adding water, and general clean-up.
- Needle tool – for scoring clay surfaces before joining, trimming edges, and making texture marks.
- Slip – a mixture of clay and water used as a joining agent. You can make your own by mixing scraps of your chosen clay with water until it reaches a creamy consistency.
- Canvas or hessian work board – clay sticks to smooth surfaces, so working on a piece of canvas prevents your pieces from adhering to your worktable.
A complete starter tool set can typically be purchased for between £15 and £40 from suppliers such as Scarva or Bath Potters’ Supplies, or from online retailers including Amazon and Hobbycraft.
A Worktable
A solid, stable table at a comfortable working height is important. Many potters prefer to work standing up, which means a surface at around hip height is ideal. A heavy wooden workbench is excellent; a kitchen table works fine to begin with. Cover the surface with canvas or a removable board to protect it and give the clay something to grip against without sticking permanently.
A Potter’s Wheel (If Wheel Throwing)
If you intend to throw on the wheel, this will be your most significant investment. New electric wheels from reputable brands such as Shimpo, Brent, and Cowley range from approximately £600 to over £1,500 depending on the model and power. Second-hand wheels are widely available through eBay, Gumtree, and Facebook Marketplace – a used wheel in good working order can be found for £200 to £500, and many potters start this way.
When buying second-hand, check that the motor runs smoothly at both low and high speeds, that the wheelhead spins without wobbling, and that any foot pedal or speed control is functioning correctly. Older British-made wheels such as the Wengers or Cromartie models still appear second-hand and can be excellent value if they have been maintained.
Kilns: The Big Decision
Firing your work is the stage that transforms soft clay into durable ceramic, and it is also the aspect of home pottery that requires the most careful planning. A kiln is a significant purchase, and installing one at home involves some important practical considerations.
Types of Kiln
For most home studio potters, an electric top-loading kiln is the most practical choice. Electric kilns are cleaner and easier to control than gas or wood-fired alternatives, and they do not require a flue or chimney in the same way. Brands such as Rohde, Skutt, Cromartie, and Kilns and Furnaces (based in Stourbridge) are well regarded in the UK market.
Kilns are categorised by their internal volume, measured in litres. A small kiln of around 30-60 litres is suitable for most home studio work. Entry-level models start at approximately £700 to £900 new; larger or more sophisticated kilns can cost considerably more.
Power Requirements
This is where many beginners are caught off-guard. Smaller kilns (up to around 1.5kW) can run from a standard 13-amp domestic socket. However, most medium and large kilns require a dedicated 32-amp or higher electrical circuit installed by a qualified electrician. This adds cost to the setup – typically £150 to £400 depending on the complexity of the installation – but it is a necessary and non-negotiable step for safety and compliance with UK electrical regulations.
Any electrical work of this nature must comply with Part P of the Building Regulations in England and Wales, which requires that certain types of electrical work be carried out or certified by a registered electrician. In Scotland, the Building (Scotland) Regulations apply. Always use a qualified, registered electrician – do not attempt to install dedicated circuits yourself.
Ventilation for Kilns
Electric kilns produce fumes during firing, particularly during the bisque firing stage when organic material burns out of the clay, and during glaze firings. These fumes are not acutely dangerous in small quantities in a well-ventilated space, but regular exposure in a poorly ventilated area is not sensible. Situating your kiln in a garage with the door open, or in an outbuilding with a vent fitted, is the standard approach for most UK home studios. Dedicated kiln vent systems are also available from suppliers if you need a more contained solution.
The Alternative: Shared Kiln Access
If purchasing a kiln feels like too large a commitment at the beginning, do not underestimate the value of a shared firing arrangement. Many pottery studios, arts centres, and community workshops
throughout the UK offer kiln access to outside members, either on a pay-per-firing basis or through a monthly membership scheme. This arrangement suits beginners particularly well, as it removes the upfront cost and ongoing responsibility of kiln ownership while still allowing you to fire your own work. Some potters continue with shared access indefinitely, finding it more practical than maintaining their own kiln at home.
When using a shared kiln, it is worth familiarising yourself with the firing schedules and clay body requirements of that particular studio. Not all kilns fire to the same temperature, and some community spaces will only accept specific clay types to avoid contamination between members’ work. Ask about bisque and glaze firing slots separately, as they are often booked and priced differently. Building a good relationship with the studio staff will make the whole process considerably smoother.
Whether you opt for your own kiln or a shared arrangement, the firing stage is the one area of home pottery that benefits most from patience and research before you commit to a particular approach. Getting this decision right early on will save you a great deal of frustration further down the line.
Conclusion
Setting up a home pottery studio does not require a vast budget or a purpose-built space from the outset. A modest work surface, a reliable clay supplier, a basic set of tools, and a sensible plan for firing your work are enough to get started in a meaningful way. As your skills develop, you can expand your setup gradually, adding a wheel, upgrading your tools, or investing in a kiln when the time feels right. Many accomplished potters in the UK began in spare rooms or garden sheds, and the craft itself remains far more dependent on practice and persistence than on expensive equipment.