Making a Pottery Bowl: Step-by-Step for Beginners
Why a Bowl? Why Now?
There is something quietly satisfying about eating your morning porridge from a bowl you made yourself. It sounds like a small thing, but the first time you sit down to breakfast with a handmade vessel cradling your food, you notice the weight of it differently, the slight unevenness of the rim, the fingerprint pressed faintly into the base before it was fired. It is yours in a way that nothing from a supermarket shelf ever quite is.
Bowls are the ideal first project for anyone starting out in hand-building pottery. They are forgiving, functional, and genuinely useful once finished. Unlike a tall vase or a lidded pot, a bowl does not require perfect symmetry or complex construction. It simply needs to hold things – soup, fruit, keys by the front door – and to do that it only needs to be roughly bowl-shaped and structurally sound. That is well within the reach of a complete beginner on their very first session.
This guide walks you through making a pinch pot bowl from scratch, covering the clay, the tools, the technique, the drying, and the firing. Whether you are working in a local studio in Leeds, a community arts centre in Cardiff, or at a kitchen table in rural Shropshire, the principles are the same.
Understanding Clay Before You Touch It
Clay is not all the same. Walk into any pottery supplier in the UK – Scarva Pottery Supplies in County Down, or Bath Potters’ Supplies down in the south-west, or Valentine Clays up in Stoke-on-Trent, the historic heart of British ceramics – and you will find a wall of different clay bodies, each behaving differently in your hands and in the kiln.
For a beginner making their first bowl by hand, the two most practical options are:
- Earthenware – fired at lower temperatures (around 1000-1150°C), this clay is soft, easy to work, and forgiving. It fires to warm terracotta tones and is the clay most associated with traditional British garden pots. It is a brilliant starting point.
- Stoneware – fired hotter (around 1200-1300°C), stoneware is denser and more durable once fired. It is the choice for functional kitchenware because it is food-safe, dishwasher-friendly, and does not chip as easily. Slightly stiffer to work with when fresh, but not difficult for hand-building.
Porcelain, though beautiful, is notoriously temperamental – it cracks, warps, and collapses with little warning. Leave it for later. Much later.
If you are joining a pottery class, the studio will almost certainly provide clay for you. If you are buying your own, a 12.5kg bag of grogged stoneware from Valentine Clays or similar costs roughly £10-£15 and will make more bowls than you can possibly use. Grogged clay – clay with small fired particles mixed in – is particularly good for hand-building because the grog adds structure and reduces the chance of cracking during drying.
Tools You Will Actually Need (and Ones You Won’t)
The pottery supply world is excellent at selling you things you do not need. You do not need a set of twelve different loop tools, a Japanese throwing rib, or a professional banding wheel to make your first bowl. Here is what you genuinely need:
- A piece of clay roughly the size of a large orange (approximately 300-400g)
- A small bowl of water
- A wooden board or piece of canvas to work on
- A wooden or metal kidney rib (optional but useful for smoothing)
- A wire tool or length of fishing line for cutting clay
- A sponge
That is genuinely it for pinch pot construction. Your hands are the primary tools, and in many ways they are better than anything you can buy – you can feel the thickness of the clay through your fingertips in a way no tool can replicate.
A note on aprons: wear one, or wear clothes you do not mind ruining. Clay does wash out of most fabrics if you act quickly, but it has a talent for finding the one item of clothing you would rather it had not.
Preparing Your Clay
Before you shape anything, the clay needs to be wedged. Wedging is the process of kneading and compressing the clay to remove air bubbles and achieve an even consistency throughout. Air bubbles left in clay will expand rapidly in the kiln and cause the piece to explode – which is as dramatic as it sounds and will also damage anything else in the kiln at the time.
There are two main wedging methods: ram’s head and spiral wedging. For a beginner working with a small amount of clay, a simplified version of ram’s head wedging is perfectly sufficient. Cut your lump of clay from the bag with your wire tool. Place it on a non-porous surface – a plaster bat is ideal, but a wooden board works – and begin pressing forward and downward with the heels of both hands, rotating the clay a quarter turn each time. You are aiming to push any air to the surface and fold it back into the body of the clay rather than trapping it.
Do this for a good five to ten minutes. It will feel repetitive. That is fine. Think of it as the equivalent of kneading bread dough – it looks simple from the outside, but the repetition genuinely matters. When the clay feels uniform in texture, slightly warm from your body heat, and holds an impression cleanly without sticking excessively to your hands, it is ready.
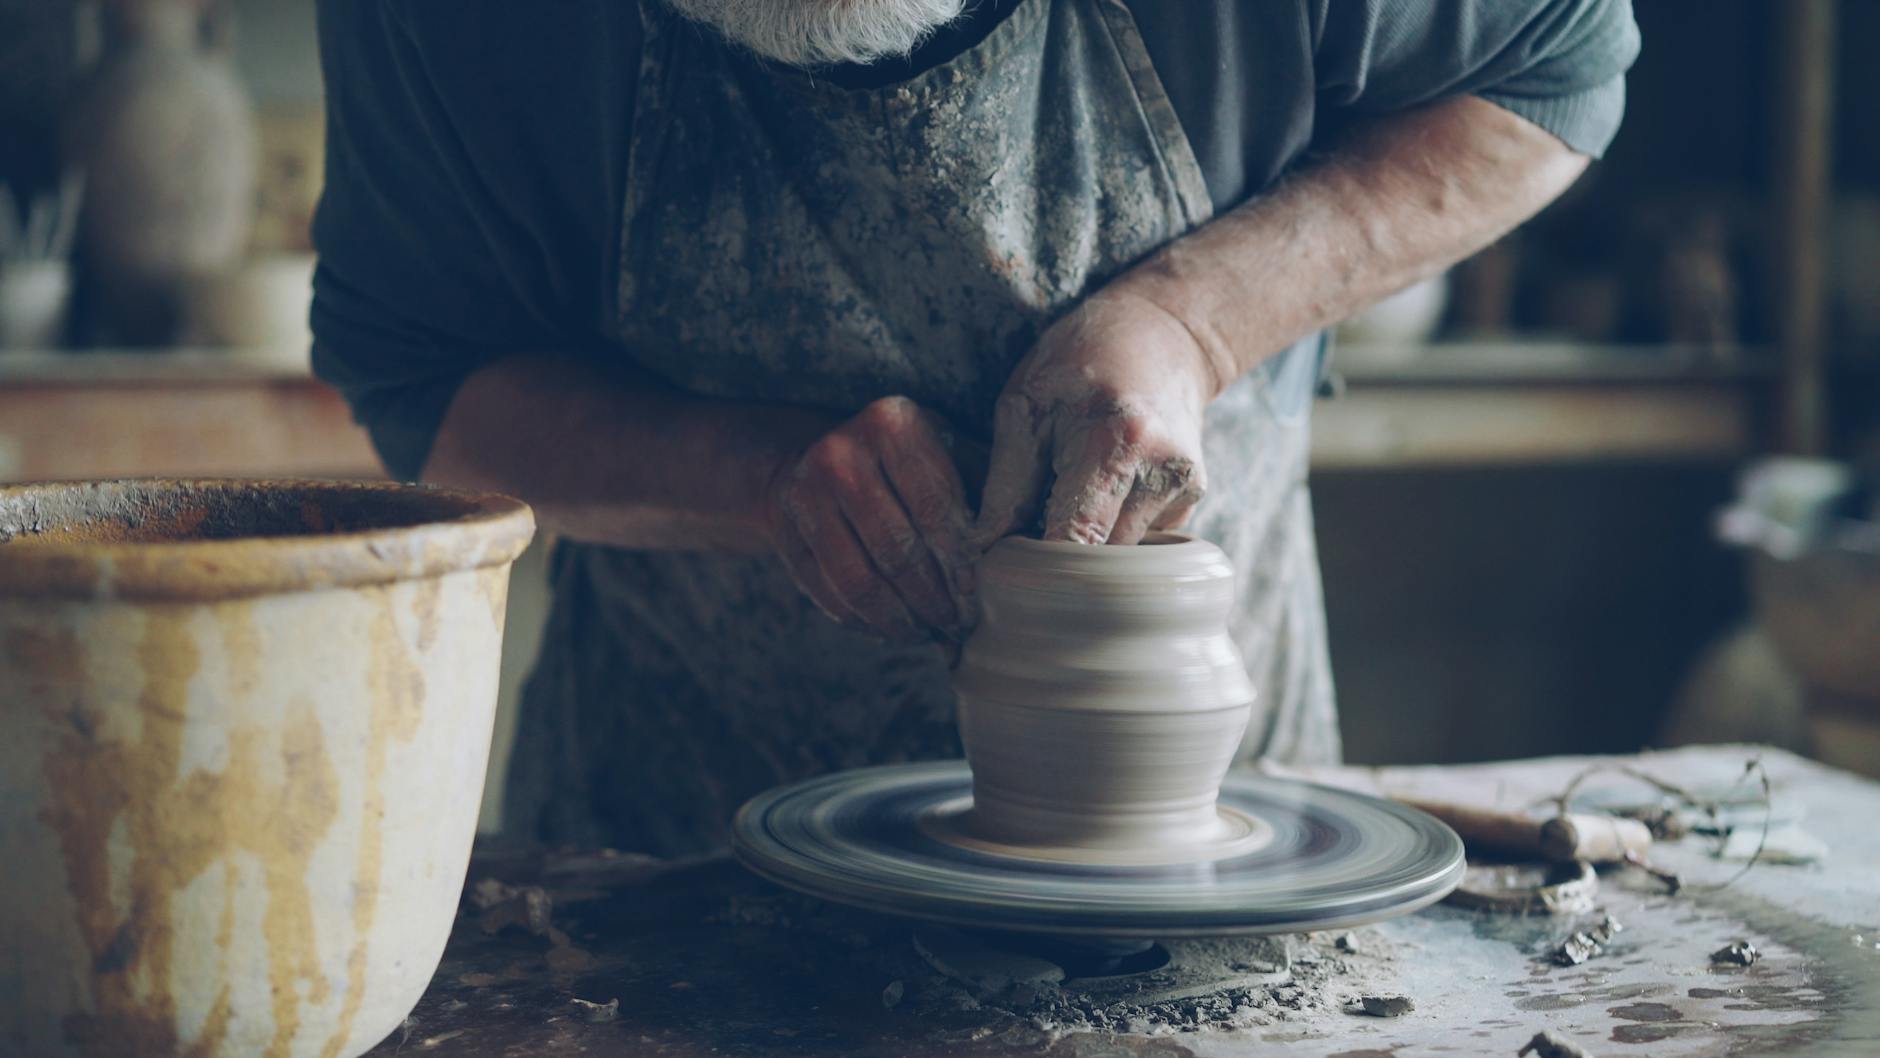
Making the Pinch Pot: Step-by-Step
The pinch pot method is one of the oldest ceramic techniques known to humanity, and it remains one of the most elegant. There is no wheel, no mould, no complex armature. Just you and the clay, shaped by pressure and patience.
- Form your ball. Take your wedged clay and roll it between your palms into a smooth, even sphere. If it cracks on the surface while rolling, the clay may be slightly too dry – add a small amount of water and work it in gently before continuing. The ball should feel compact, not hollow.
- Find your centre. Hold the ball in your non-dominant hand. Press your dominant thumb into the centre of the top, pushing down firmly but not all the way through. Stop about 1cm from the bottom – this will be the base of your bowl, and you want it thick enough to survive handling. A common beginner mistake is pushing straight through the bottom, which creates an embarrassing hole and a great deal of frustration.
- Begin pinching. With your thumb inside the cavity and two or three fingers on the outside, begin gently pinching the walls. Work in a consistent rotation – like a clock face – so that you are applying even pressure all the way around rather than thinning one section disproportionately. Small, controlled pinches are better than large grabs. You are gradually widening and thinning the walls simultaneously.
- Keep rotating. Consistency is everything. After each full rotation of pinches, check the wall thickness by holding the bowl up to the light. You are aiming for walls roughly 7-8mm thick – thin enough to look elegant, thick enough to survive the kiln. Uneven walls dry at different rates and are far more likely to crack.
- Shape as you go. A pinch pot naturally wants to open outward as a gentle curve. If you want a deeper, more upright bowl, apply pressure from outside with your fingers while supporting from inside. If you want a flatter, wider dish shape, allow the clay to open more freely and support the outer wall to prevent it collapsing.
- Smooth the surface. Once the basic shape is established, use a damp sponge or your kidney rib to smooth the outer and inner surfaces. Work in circular motions. This not only improves the appearance but also compresses the clay slightly, adding strength. At this stage, the bowl will look considerably more finished – a small revelation every time.
- Address the rim. The rim is what people notice first. Run a damp finger around it repeatedly, gently compressing and smoothing until it feels clean and even. You can taper it slightly toward the inside for a refined look, or leave it blunt and honest-looking for a more rustic aesthetic. Neither is wrong. Both are choices.
- Create a foot or flatten the base. Your bowl needs to sit flat without wobbling. Place it gently upside down on your board and look at the base. If it is rounded and unstable, carefully press it very lightly against the board to create a small flat area – or, if the clay is still soft enough, press a shallow groove around the base to suggest a foot ring. This can also be added with a loop tool at the leather-hard stage (see below).
The Leather-Hard Stage: When to Refine, When to Leave Alone
Once you have finished the initial shaping, set the bowl aside on a wooden board and allow it to dry slowly to the leather-hard stage. Leather-hard clay feels cool to the touch, holds its shape firmly, but is still slightly damp and dark in colour. It is firm enough to handle without distortion but moist enough to carve, smooth, and join. Depending on your studio temperature and humidity, this typically takes between 4 and 24 hours in most UK conditions – British weather being somewhat helpfully damp.
Do not rush this. Covering the bowl loosely with a piece of plastic will slow drying and give you more working time. Placing it near a radiator will dry it too quickly and risk cracking, particularly around the rim which tends to dry faster than the base. Even drying is everything.
At the leather-hard stage, you can use a loop tool to refine the foot ring if you chose to add one, smooth any remaining rough patches with a slightly damp sponge, and add any decorative texture or surface detail – impressed patterns, carved lines,
or slip-trailed designs. This is your last real opportunity to make changes to the surface before the clay becomes bone dry and too fragile to work without risking breakage. Take your time here — a steady hand and a light touch will serve you far better than rushing.
Once fully dry — which can take anywhere from a few days to over a week depending on the thickness of your walls and the humidity of your workspace — the bowl is ready for its first firing, known as a bisque firing. This is typically done at around 1000°C and transforms the raw clay into a porous, hardened ceramic that is no longer water-soluble. Do not be tempted to load the kiln before you are certain the piece is completely dry; any residual moisture will turn to steam during firing and can cause the bowl to crack or, in the worst cases, shatter entirely. If you are using a communal kiln at a local studio, the technician will usually check pieces before loading, but it is worth asking if you are unsure.
After the bisque firing, the bowl can be glazed. Apply your chosen glaze to the interior and exterior, keeping the foot ring clean so it does not fuse to the kiln shelf. A wax resist applied to the base beforehand makes this considerably easier. The bowl then goes back into the kiln for a glaze firing, usually at a higher temperature determined by your clay body and glaze — earthenware typically fires at around 1100°C, stoneware between 1200°C and 1300°C. What emerges is a finished, functional bowl.
Learning to throw a bowl takes patience and a fair amount of failure, and that is entirely normal. Most potters will tell you that their early work taught them far more than any instruction could. Keep your first attempts, flawed as they may be — they are a useful record of where you started, and the improvements that follow will be all the more satisfying for it.