Getting Started with Pottery and Ceramics in the UK
Pottery is one of the oldest crafts in human history, and in the UK it enjoys a particularly rich tradition – from the industrial heritage of Stoke-on-Trent to the rural studio potters working across Wales, Scotland, and the West Country. Whether you have been drawn in by a television programme, a visit to a local craft fair, or simply the idea of making something tangible with your hands, getting started with pottery in the UK is more accessible than you might think. This guide covers everything a complete beginner needs to know: the basic techniques, the equipment, where to learn, and where to buy materials.
Understanding the Basics: What Is Pottery?
Pottery and ceramics are often used interchangeably, though there is a subtle distinction. Ceramics is the broader term, referring to any object made from clay and hardened by heat. Pottery specifically refers to functional or decorative vessels – bowls, cups, jugs, and so on. As a beginner, you will most likely encounter three main types of clay body:
- Earthenware – the most common starting point for beginners. It fires at relatively low temperatures (around 1000-1150°C), is widely available, and comes in red, buff, and terracotta varieties. It is slightly porous unless glazed.
- Stoneware – fired at higher temperatures (1200-1300°C), producing a denser, more durable result. Most studio potters in the UK work primarily with stoneware. It is forgiving, versatile, and produces beautiful results with a wide range of glazes.
- Porcelain – the most refined and challenging clay to work with. It fires white and translucent, and is prized for its elegance. Not recommended as a first clay, but worth aspiring to once you have built confidence.
You do not need to understand all of this before your first session. Most beginner classes will provide clay and tell you exactly what you are working with. The important thing early on is simply to get your hands into the material and start developing a feel for it.
The Main Techniques
There are several methods for shaping clay, and most beginners will try at least two or three before settling on a favourite. Each has its own rhythm and appeal.
Hand Building
Hand building does not require a wheel or any specialist equipment beyond clay and your hands. There are three core methods within hand building:
- Pinch pots – you start with a ball of clay and use your thumb and fingers to pinch out a form. Simple but surprisingly expressive, and a great way to understand clay’s behaviour.
- Coiling – long rolls of clay are stacked and smoothed to build up walls. This technique allows for large, organic forms and has been used by potters for thousands of years.
- Slab building – clay is rolled out flat (like pastry) and cut into shapes that are then joined together. Excellent for making tiles, geometric forms, mugs, and boxes.
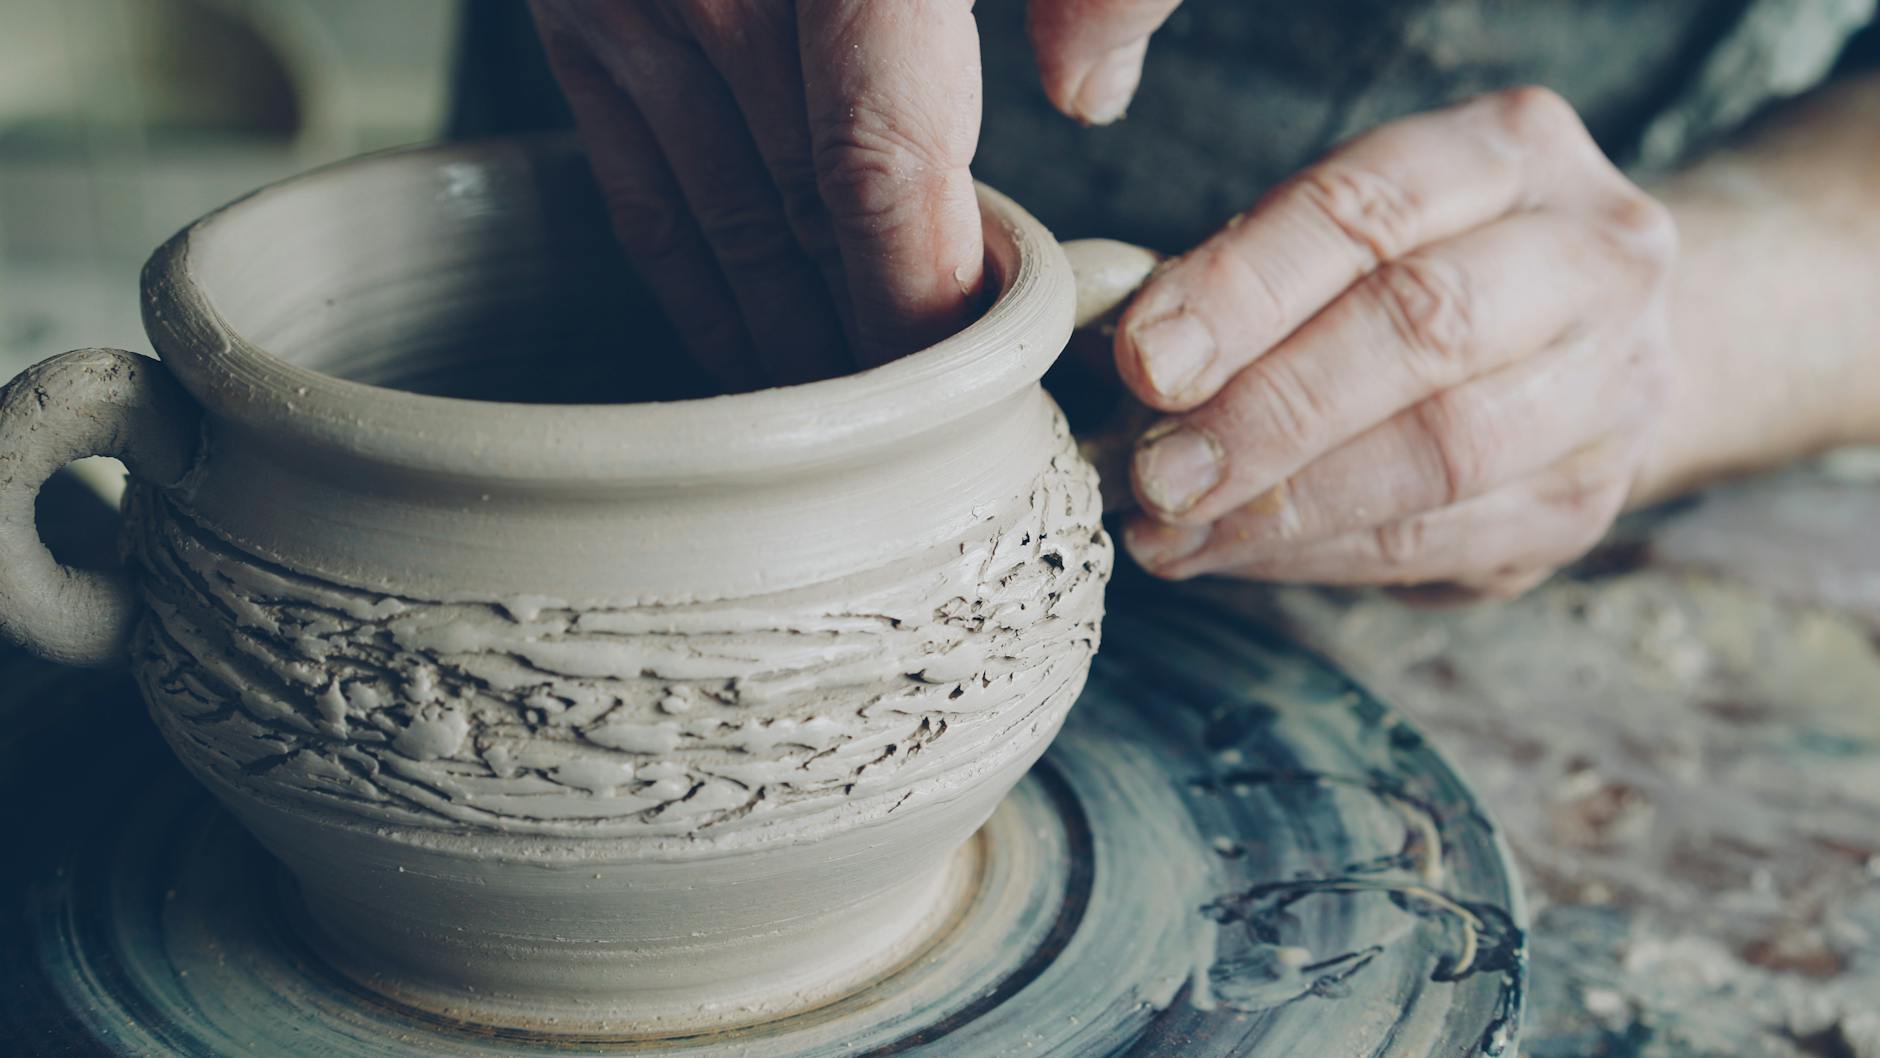
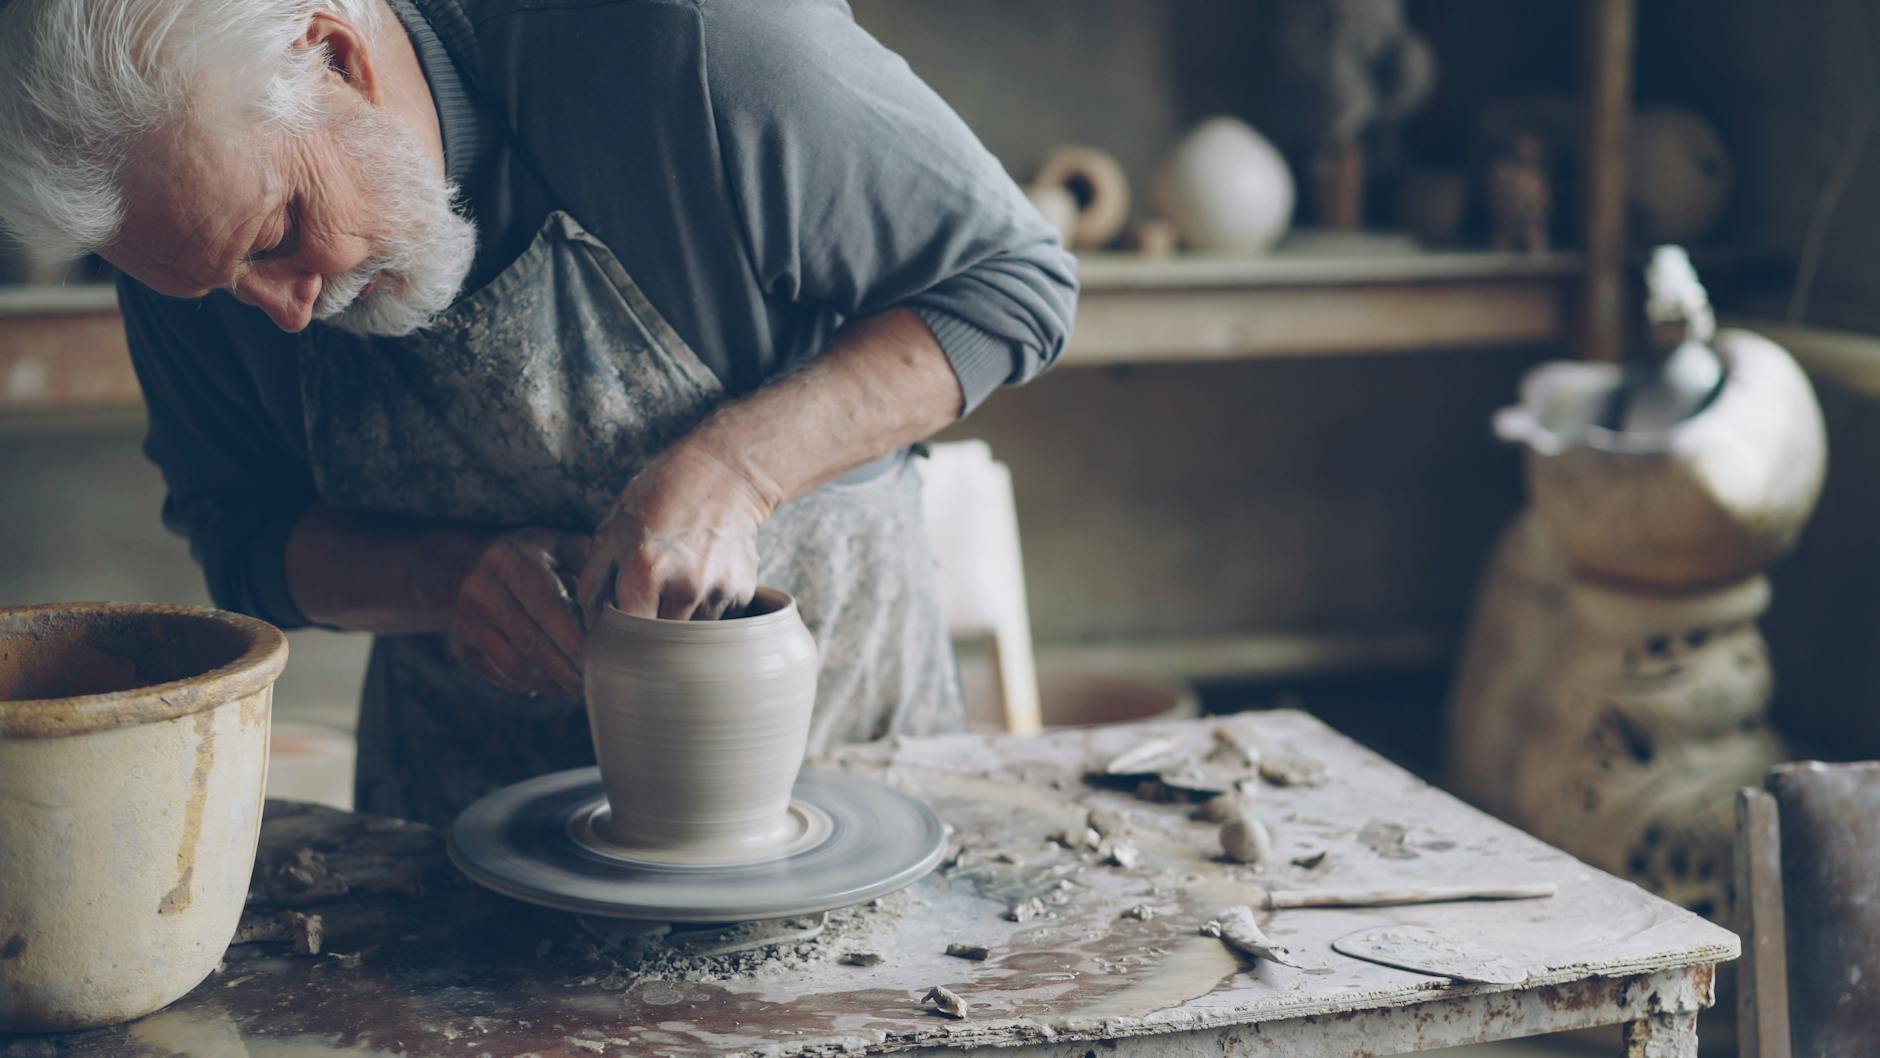
Wheel Throwing
This is what most people picture when they think of pottery – a spinning wheel, wet clay, and a shape rising between the hands. Wheel throwing takes considerably more time to learn than hand building, and the first few sessions can feel frustrating. Most beginners produce wobbly, lopsided cylinders before anything resembling a bowl appears. That is completely normal. Perseverance is the single most important quality a beginner can bring to the wheel. Many community studios across the UK offer six-to-eight week wheel throwing courses specifically designed for absolute beginners, and by the end of that period most people are producing functional pieces they are genuinely proud of.
Slip Casting
Slip casting involves pouring liquid clay (called slip) into plaster moulds. It is widely used in industrial production but also by studio potters who want to produce repeated forms. It is less common in beginner classes but worth knowing about if you are interested in more uniform, production-style work.
Finding a Class or Studio in the UK
Taking a class is the best possible way to begin. Pottery involves techniques that are genuinely difficult to learn from videos or books alone – the tactile feedback of clay requires an experienced eye to guide you in person. Fortunately, the UK has an excellent network of pottery studios, adult education centres, and independent teachers.
Here are some practical ways to find a class near you:
- Search your local further education college. Many FE colleges across England, Scotland, Wales, and Northern Ireland offer part-time ceramics courses through their adult and community learning programmes. These are often subsidised and represent exceptional value.
- Check community studios. Independent pottery studios with shared facilities exist in most UK cities and many market towns. Places like Turning Earth in London, Manchester’s Fired Up pottery studios, and the Edinburgh Ceramics Studio offer drop-in sessions, taster workshops, and full courses.
- Look at local arts centres. Venues such as the Arnolfini in Bristol, the Dovecot in Edinburgh, or your local arts council-funded centre often run or host ceramics workshops.
- Search the Craft Potters Association (CPA) website. The CPA maintains a directory of potters and studios across the UK and is a reliable starting point for finding reputable local tuition.
- Try a one-day taster workshop first. Before committing to a multi-week course, many studios offer two-to-three hour introductory sessions. These give you a feel for the craft and help you decide which technique interests you most.
Costs vary considerably. A single taster session might run from £30 to £60. A full six-week wheel throwing course typically costs between £150 and £300 depending on location, with London studios generally at the higher end. Some areas still have subsidised courses through local authority arts funding, so it is worth asking.
Setting Up at Home: What You Actually Need
Many beginners eventually want to practise between classes or set up a small home studio. The good news is that you can start hand building at home with very little equipment and relatively modest expense.
Essential tools for hand building at home
- A block or bag of clay (around 10-12.5kg to start)
- A canvas or hessian work board to prevent sticking
- A wire clay cutter
- A few wooden modelling tools and a loop tool
- A sponge and a small bowl of water
- Rolling guides (two wooden dowels of equal thickness) for even slab rolling
- A rolling pin
A basic starter tool kit costs between £15 and £40. Clay itself costs roughly £10-£20 for 12.5kg from UK suppliers, which is enough for several sessions of hand building.
What about a kiln?
This is the question most beginners reach quickly, and the honest answer is: do not rush into buying a kiln. A small electric kiln suitable for home use costs anywhere from £400 to over £1,500 new. There are also considerations around electricity supply (some kilns require a dedicated circuit), ventilation, and space. For most beginners, the practical solution is to use a kiln firing service. Many community studios and independent potters across the UK offer this – you bring your dried, unfired pieces (called greenware) and pay a fee to have them fired, either just once (bisque firing) or twice (bisque and glaze firing). Fees are usually calculated by the volume of shelf space your pieces occupy, typically around £5-£15 per shelf per firing depending on the studio.
Once you are producing work regularly and have a clear sense of what you want to make, investing in a kiln makes much more sense. Second-hand kilns are available through eBay, Gumtree, and specialist ceramics forums – a used kiln in good condition can be found for £150-£400, though you should have it checked by an electrician before use.
Where to Buy Clay and Supplies in the UK
The UK has several well-established ceramics suppliers who cater to both beginners and professional studio potters. Ordering online is convenient, though for heavy materials like clay, buying in bulk reduces delivery costs significantly.
- Bath Potters’ Supplies – one of the most comprehensive suppliers in the UK, offering a wide range of clays, glazes, tools, and kilns. Their website includes detailed technical information useful for beginners.
- Scarva Pottery Supplies – based in Northern Ireland, they supply across the whole of the UK and stock an excellent range of stoneware and earthenware clays.
- Potclays – based in Stoke-on-Trent, naturally, and one of the longest-established clay manufacturers in the country. Good value for bulk clay purchases.
- CTM Potters Supplies – a reliable option for tools and glazes, particularly for those in the Midlands.
- Axner / Ceramic Shop UK – for a wide selection of tools and finishing materials.
Most of these suppliers also offer sample packs of different clay bodies, which is genuinely useful when you are trying to decide which clay suits your work. Stoneware is a sensible default for most beginners moving into home practice after taking classes.
Understanding the Firing Process
Clay must go through at least one firing in a kiln before it becomes permanent. Understanding the basic stages helps you plan your work and avoid common mistakes.
- Greenware – unfired, dried clay. At this stage the piece is fragile and will dissolve if it gets wet. Pieces must be completely dry before firing – rushing this stage causes cracking and can damage other work in the kiln.
- Bisque firing – the first firing, usually to around 1000°C for earthenware or stoneware. The result is a hard but still porous piece, called bisqueware. Glazes are applied at this stage.
- Glaze firing – the second firing, at a higher temperature, which melts the glaze and fuses it to the clay body. The result is a finished, waterproof piece.
Some potters use a single-fire technique (applying raw glaze to greenware and firing once), but this is more advanced and less forgiving. As a beginner, the two-firing approach
is the safer and more reliable method, giving you better control over the final result and reducing the likelihood of costly mistakes.
Once you have completed both firings, the piece is finished and food-safe if an appropriate glaze has been used. It is worth noting that not all glazes are food-safe, so always check the manufacturer’s guidance if you intend to use your work for eating or drinking. Some decorative glazes contain compounds that are not suitable for contact with food or liquid. As your confidence grows, you may wish to experiment with different glaze types — from matt and satin finishes to glossy or textured effects — each of which responds differently to heat and produces its own distinctive results.
Firing is generally carried out in a communal kiln at a pottery class or studio, which is the most practical option for beginners. Purchasing your own kiln is possible but represents a significant investment, and it is sensible to gain a solid grounding in the craft before committing to that expense. Many studios offer firing services for a modest fee, allowing you to work at home on hand-building or wheel-throwing and then bring your pieces in for firing.
Getting Started
The best way to begin is to sign up for a short course or taster session at a local pottery studio or further education college. These are widely available across the UK, from large cities to smaller towns, and cater to complete beginners with no prior experience. A structured class will introduce you to the fundamental techniques in a supported environment, with all materials and equipment provided. From there, many potters find that the craft becomes an absorbing and deeply satisfying hobby — one that rewards patience, practice, and a willingness to learn from the inevitable failures along the way.